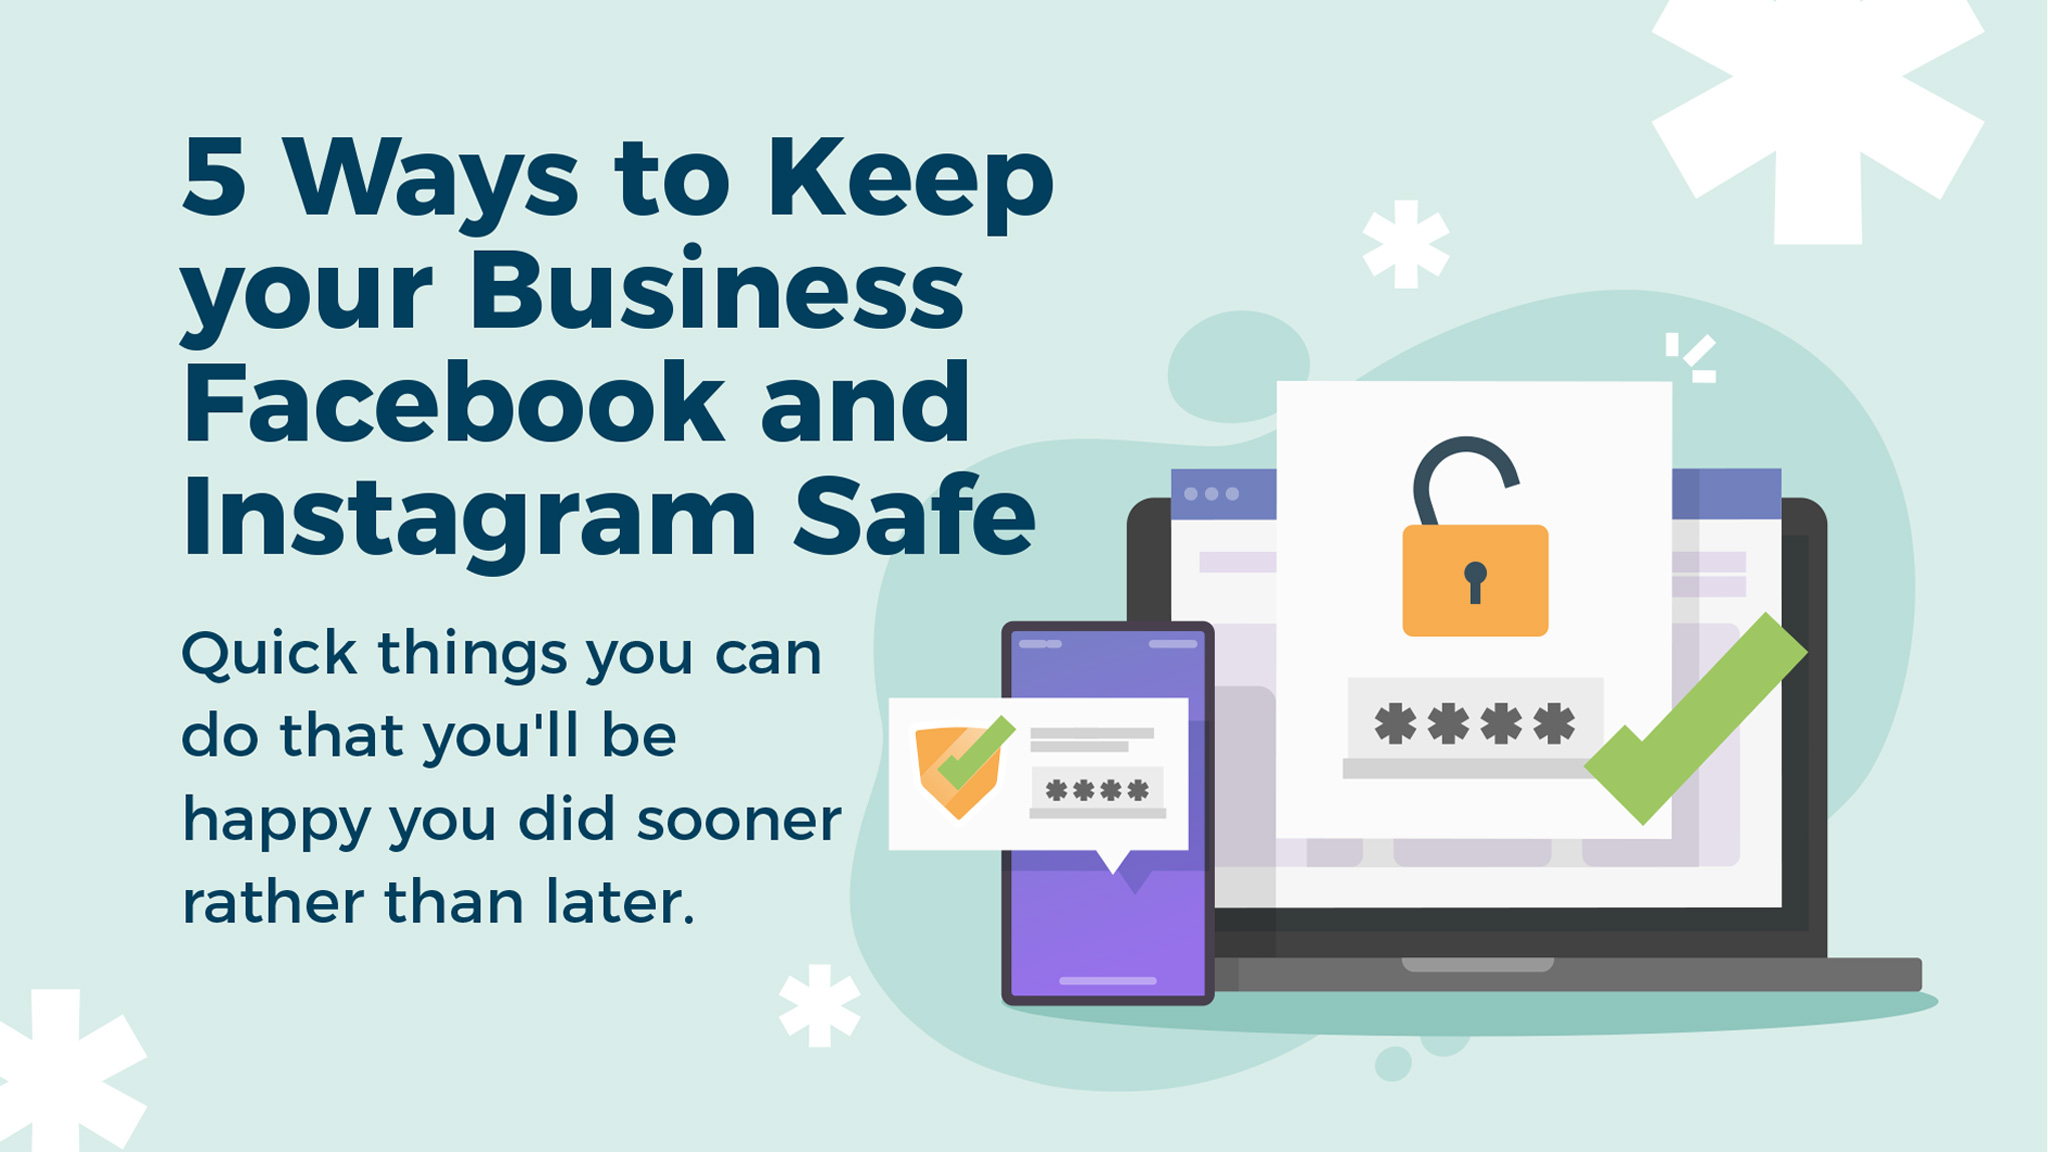
Have you ever tried to contact Facebook for any reason? It can be incredibly frustrating because you rarely ever get to speak to a real person. Imagine trying to do this in a time-sensitive situation such as when your account gets hacked. In order to limit the need to reach out to Facebook support, we have compiled a list of 5 things you can do to keep your account safe.
Activate a 2FA
Facebook has forced the use of 2FAs (2 Factor Authentication) for all accounts that have a credit card connected to run Boosts or ads. If you haven’t run any ads yet, it is up to you to set up a 2FA to protect your account.
(Note: This is the number one reason we have seen account deactivated. Facebook has sent an email to notify that your account will be shut down if 2FA is not activated, but this gets missed and the account is closed)
In order to set up 2FA, follow these steps:
- On a desktop or laptop (ie: do not use your phone or tablet), login to Facebook.
- Click on your photo in the top right corner and click “Settings & Privacy” from the dropdown.
- Click the small blue text that says “See More in Accounts Centre” on the left side.
- Click “Password and Security” on the next screen
- Click “Two Factor Authentication” and follow the steps to activate SMS (text message) authentication.
Always have 2 administrators on your Facebook page
If your personal account is compromised in any way, you’ll be able to have your second admin remove your access to the page and re-add your new account. This will keep your page safe from whomever has hacked your personal account.
- Login to your Facebook account and switch into your page either from a shortcut or by clicking your profile photo and clicking to switch into the page profile.
- Once in your page’s profile, click “Settings” then on the next page click “New Pages Experience”
- By default, you’ll be on the Page Access page and you can see who has account personally as well as what Business Account is connected to the page.
- If you do not see anyone listed there (including yourself), you need to go into your Business Manager by visiting business.facebook.com
- Click “Settings” in the bottom left corner then click “People” on the next page that loads.
Make sure there is more than just yourself listed there. - Click on the secondary person listed and make sure they have Full Control of your Facebook page in their list of assets they can access.
Change your Facebook and Instagram password every 6 months
Follow the appropriate steps to change your password every 6 months. Do not use the same password for your Instagram account and your Facebook account.
Login and review your page admins
It’s a good idea to regularly check who is an admin on your page. There could be past employees, people who helped set up the page initially or someone who has inadvertently gained access and shouldn’t be there.
- Login to your Facebook account and switch into your page either from a shortcut or by clicking your profile photo and clicking to switch into the page profile.
- Once in your page’s profile, click “Settings” then on the next page click “New Pages Experience”
- By default, you’ll be on the Page Access page and you can see who has account personally as well as what Business Account is connected to the page.
- Remove anyone who shouldn’t have access.
- If you do not see anyone listed (including your regular page admins, you need to go into your Business Manager by visiting business.facebook.com then follow the steps from above to navigate to your “People” settings to review.
Read the emails that Facebook sends
Facebook sends a lot of emails and now that there are inboxes that sort out emails into categories (Social, Promotion, General), it can be hard to remember to read the ones from Facebook that may contain important information. Wondering what type of information might be sent via email? Account deactivations are a very important notice that you would receive via email. If for some reason your account has been flagged, you will receive an email explaining what you need to do to keep your account active.
Luckily there are a few things you can do to limit the amount of unnecessary emails from Facebook so it is easier to read the ones you do get.
- On a desktop or laptop (ie: do not use your phone or tablet), login to Facebook.
- Click on your photo in the top right corner and click “Settings & Privacy” from the dropdown.
- On the page that loads, click “Notifications” from the left side menu.
- In this section, you’ll see that you can toggle on and off notifications for Push, Email and SMS. Push means you’ll get a notice on your phone (depending on your app settings on the phone), SMS means a text.
- If you scroll down to the section called “Where you Receive Notifications” you can toggle the “Email” section to be just “Required Notifications” which will heavily limit what emails you receive from Facebook.